Categories
How to Create CSV Files for Bulk Scheduling?
The formats for creating a CSV for image and text bulk posts vary. The steps for both of these formats are given below:
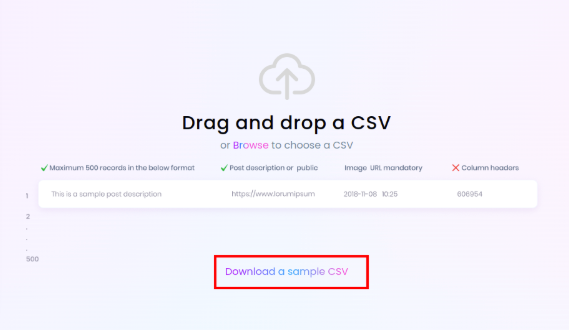
- 1st Column: Contains the post description/title with the post URL. For example: How To Optimize Your Website Design For SEO? https://bit.ly/3Zf3bsT
- 2nd Column: If you are creating a CSV file for link posts, leave this column blank. But if you want to share the post as an Image Post in bulk, add the image URL in this column.
- 3rd Column: Specify a date and time you want to publish your post for.
Remember that you can choose any format for the date and time format as selected in “Your Profile” → “Date and Time”.
Note: When adding the image URL in the 2nd column, make sure it’s a public URL. This means, only the image is visible to the audience and not the entire website. However, if your image files are saved on your computer or in your Google Drive, you can easily upload them later while reviewing the list in Social Blaze’s bulk scheduler list.
To avoid any confusion and effort in creating a CSV file, you can also download a sample CSV file from Social Blaze and use it.
On the Dashboard, go to the “Post” → “Bulk Schedule”. From there, you can find the link to “ Download a sample CSV.”