Categories
How To Set Up A Content Library in Social Blaze?
There are times when you may need to create a library of posts so that you can use them at any time, especially when you are running short on schedule.
To help you in this, Social Blaze lets you actually create a “Content Library”, where you can store pieces of content and reuse them later. The library is accessible to all the team members, where they can create and store digital assets to be used any time later.
With our built-in content library, you can create and store various types of content, including hashtags, images, captions, signatures, website links, contact information, and much more.
This feature eliminates the need to repeatedly add the same content to your posts. For example, if you run a clothing brand campaign on Facebook or Instagram, you would need the same set of hashtags (or even product images) to add to your posts. Social Blaze’s content library helps you create a library of hashtags for your clothing brand that you can reuse. This helps you save time every time you create a post for your clothing brand.
The library feature frees you from the hassle of creating separate spreadsheets and documents for copying and pasting the same information into their social posts.
Some Important Things To Consider When Working With Content Library
- Social Blaze does not allow “Clients” to add new content, even if they have permission to publish posts.
- Clients are only able to see a read-only screen when clicking on a post or a hashtag. They do not have the permission to edit it.
- Clients without “Publish-Post” access won’t see the “Add” button on hovering over post or hashtag cards or when viewing the read-only screen of a post or hashtag.
- Clients with “Publish-Post” access will notice an “Add” button appear on hovering over post or hashtag cards or when viewing the read-only screen of a post or hashtag.
So, to access this feature, go to “Content” → “Library” on the left panel of your dashboard.

How to Save Content in the Content Library?
Social Blaze allows you to save your content in two categories: “Post” and “Hashtags”.
- When saving content under the “Post” category, you can customize your content with media and hashtags. It primarily saves platform-specific content.
- Under the “Hashtags” category, you can save only text-based content. For this, you would need to fill in two fields: the name of the content, and the hashtags.
Familiarize yourself with The Content “Library”
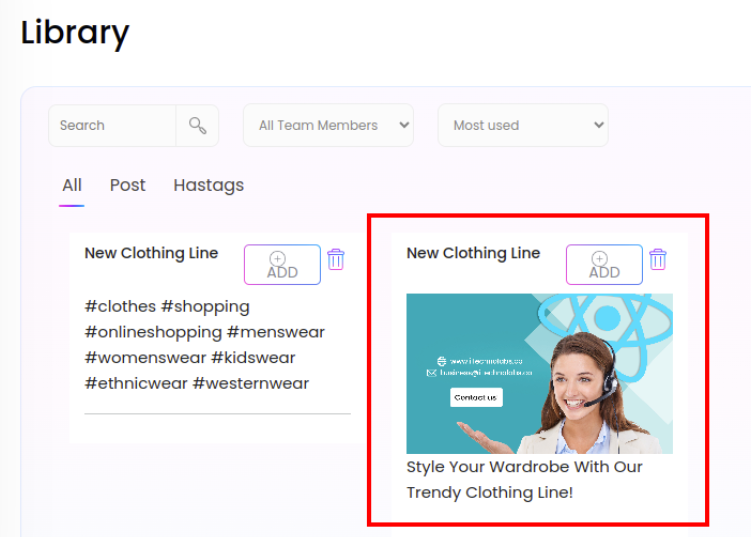
All saved content will appear in the library dashboard. By default, all content types are listed, but you can click on the “Hashtags” and “Post” tabs to view the specific types.
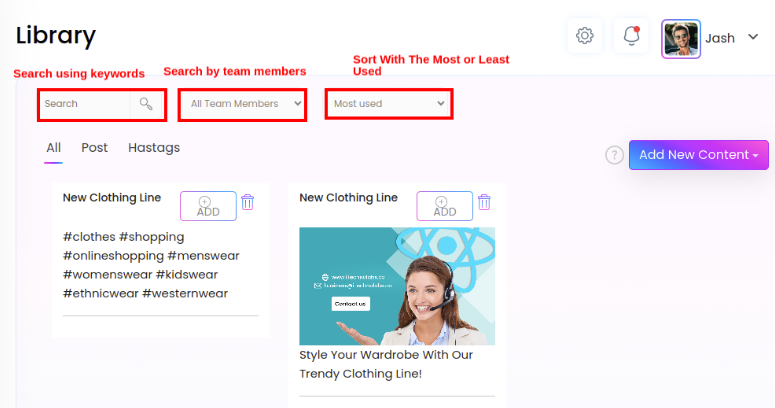
Several “Filters” are provided that make it easy to sort and find what you need in the library. These are:
- The “Search” filter to find specific content based on keywords.
- The “Team Members” filter to find content based on the team member who created it.
- The “Most Used” filter to find content based on their usage frequency.
Let’s now learn the steps to create content assets under each of the above categories:
1. Creating Content Under The “Hashtags” Category
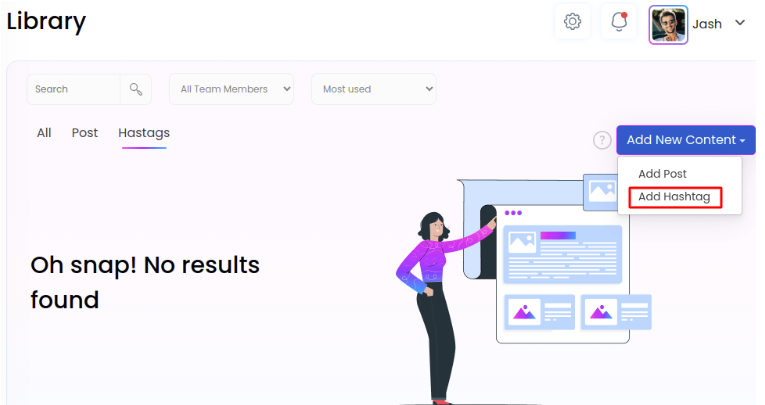
- On the “Library” screen, click on the “Add New Content” button.
- Select “Add Hashtags” from the drop-down.
- In the Add Hashtags pop-up, fill up the two given fields: “Name of the content”, and “Hashtags”. You can add as many hashtags as you want to the content.
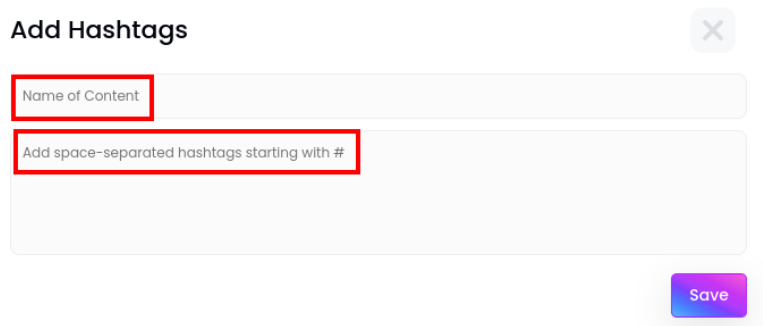
- Click on “Save” to store the content card in the Library.
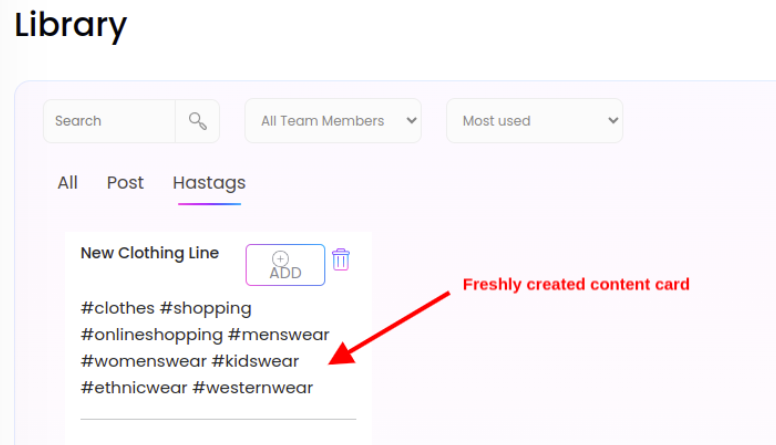
- You could see the freshly created content card for hashtags in the Library queue. The content’s name and hashtags will be readily visible.
Note: The most recently created content cards will appear first in the queue.
- If you want to make changes to your content card, click on the content card to open the “Edit Hashtags” pop-up. Click on “Update” to save the changes.
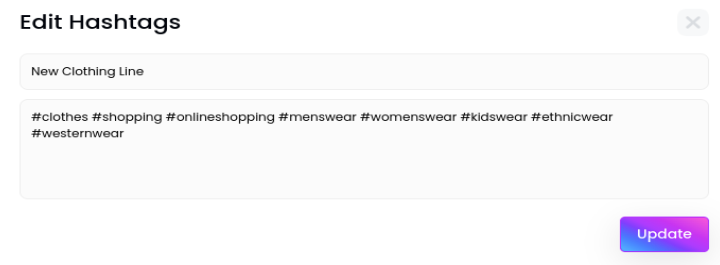
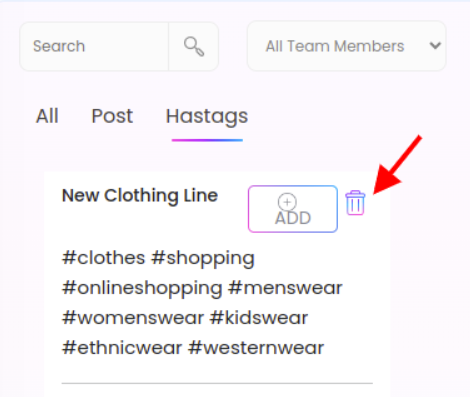
To delete the card, click on the “delete” icon.
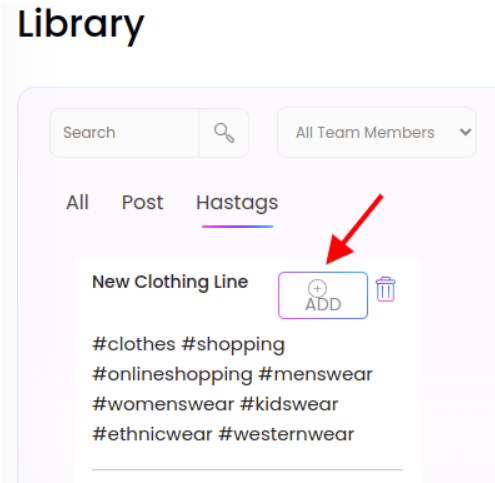
If you want to add hashtags to any posts, click on the “Add” button. You will be redirected to the “Create Post” page.
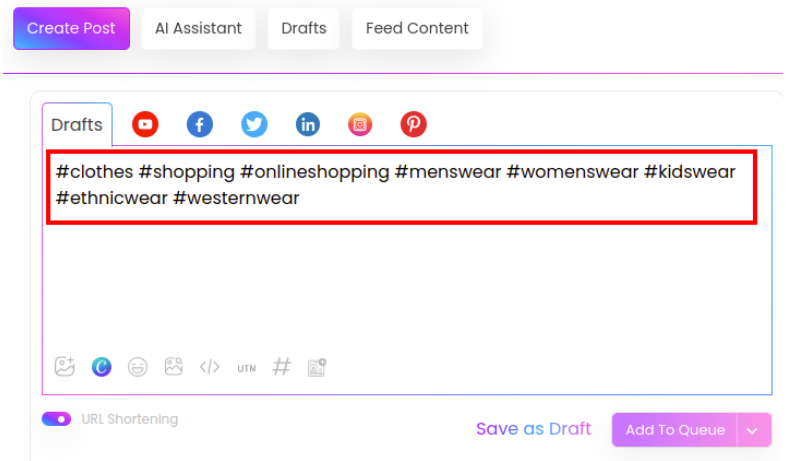
Now, all the hashtags you just added to the content card will automatically be included in the “Create Post” section.
2. Creating Content Under The “Post” Category
- On the “Library” screen, click on the “Add New Content” button.
- Select “Add Post” from the drop-down.

- The “Add Post” pop-up will appear on the screen. Fill the given fields with the content you want. Give your content some name in the “Name Of The Content’ field. Create your post description in the “Drafts” field. You can make your content visually appealing by customizing it with images, emojis, and custom fields. You can even add Hashtag content from the content Library in the Post.
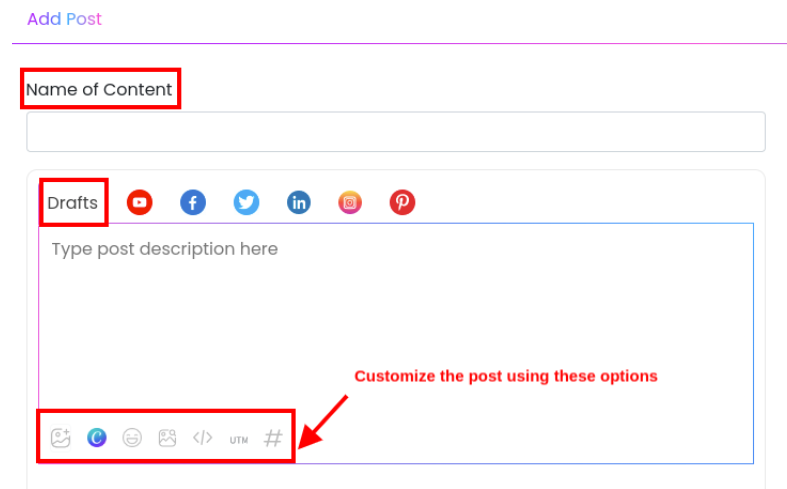
- You can even switch to any specific social media platform tab to create a platform-specific asset.
- After creating the post, click “Save”.
Your Post content card will be added to the “Content Library”.
- You can edit or delete the Post content card at any time by clicking the respective buttons.